The Annapurna Base Camp Trek (ABC) is one of the most popular hiking trails in all of Nepal.
Nepal is well known for its beautiful scenery and mountain landscapes, and especially well known for hosting the tallest mountain the world, Everest. Although conquering Everest isn’t a possible reality for most people, there are still some beautiful hikes and treks in Nepal which are worth doing!
The Annapurna Base Camp trek is a trek which takes you through the lush greenery and waterfalls of the Annapurna Sanctuary. Of course, at base camp showcasing the incredible mountains of the Annapurna Ranges.
This blog post contains affiliate links – If you choose to use them, don’t worry at no extra cost to you! I may earn a small commission, thank you for supporting my small business.

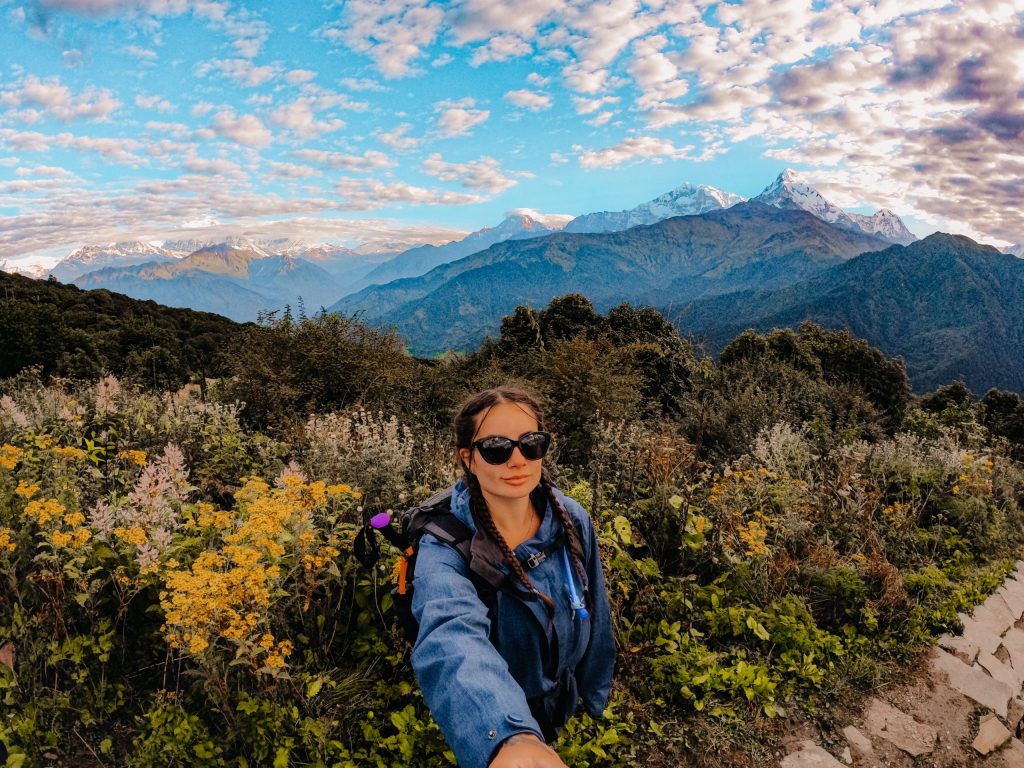
Table of Contents
Annapurna Base Camp Overview
Distance – 80km to 130km (give or take, depends on route)
Days Required – 5 to 11 days
Total Elevation – 4147m (ABC)
Difficulty – Moderate, you will require some physical fitness
Permits – TIMS card and Annapurna Sanctuary Permit
Accommodation – Guesthouses/Teahouses
Cost – Depends if you complete the trek independently or with a tour.
How long does this trek take?
This trek can be completed with anywhere between 5-11 days of hiking, depending on the route you take. The route I choose to take took 10 days, but we cut it down to 9, due to myself and my hiking companion developing a chest infection in the last few days.
Do I need a guide?
You don’t need a guide to complete this trek. However, it is highly recommended as it gives jobs to the local communities and always much more ease to your trek. For example, your guide will organise your accommodation and transport for you. Having a guide also makes it a lot easier to get into teahouses, as locals are given first choice over foreigners who are alone. It also costs more to book teahouses and transport as a foreigner without a guide!
I went with Nepal Eco Adventures, and I can highly recommend them. The service, organisation, guides, and porters were all excellent. You will need a permit to enter the Annapurna Sanctuary.
What about a tour?
I went on a group tour, which ended up having two people in the group. This is an efficient way to organise your trip, especially if you have never been to Nepal. There are many tour operators in Nepal, and you can either book online prior to your arrival or while you are in Nepal.
I recommend using Travel Stride, a website that compares multiple tour operators and itineraries so you can find one that suits your needs.

Accommodation?
The accommodation on the Annapurna Base Camp trek will be mainly guesthouses and teahouses. This accommodation is very basic but has everything you need for a comfortable stay. My guide did a fantastic job at booking places which felt very luxe (for my hiking standards).
Most of our lower accommodation has two single beds and an adjoining bathroom. The bathroom had a hot water shower and toilet. Most also had power points. Power and hot water are two things which you usually have to pay for on these treks, so this was a nice little surprise. Overall, the accommodation was very comfortable.
Wifi costs about 300 NPR and a hot shower, 150-300 NPR.

What was the food like?
I loved the food on the track! Although admittedly the food was rather bland in a lot of places, I smothered it in hot sauce. My go to meal was Daal Baht, which is a local dish I am obsessed with. This never lacked flavour and hit the spot every time.
They have a range of different foods from pasta, pizza, noodles, soup, rice, and sandwiches. It is highly recommended you go vegetarian on this trek to avoid getting sick. I would also stick to the local cuisines such as Daal Baht, Momo, rice or noodle dishes.
TIP – Here are some restaurant recommendations when you are in Pokhara.
- Am/Pm Organic Café: Delicious smoothie bowls, milk alternative coffee and fresh foods. Great range and price.
- Himalayan Dorjee Restaurant: I went here 4 times, very tasty dishes and local cuisine. Very cheap but excellent quality – highly recommend the Big and Chilly Momo.


Health Insurance
You will need health insurance to complete any treks in Nepal. Your policy must contain cover up to or over 6000m, or most tour operators won’t take you onto the trails. My go to travel insurance company for any of my treks and adventures is Covermore Insurance.
DAY 1 – Nayapul to Hile
Distance: 6km
Walking time: 2-4hrs
Difficulty: Easy
Elevation: 1430m
The first day of my trek included a 1.5hr taxi ride to Nayapul from Pokhara. We were picked up around 7.30am from our hotel (included in the tour) and drove towards the trail head with some beautiful mountains in the distance. Once we reached the trail head, our guide checked up in and shortly after we started our trek.
The trek to Hile is relatively easy. You will walk along a dirt track, which is used by jeeps and the local buses. This dirt track has a slight gradient to it, with some flat sections. There is one set of stairs leading up to the town, but that is all in this section. The trek today took 3.5hrs.


DAY 2 – Hile to Ghorepani
Distance: 13km
Walking time: 6-8hrs
Difficulty: Moderate
Elevation: 2840m
Day two of this trek was a tough one, and apparently the ‘hardest day’ according to my guide. This section of the track is all steps, either ascending or descending. It can be very hard on the legs if you don’t have any physical fitness.
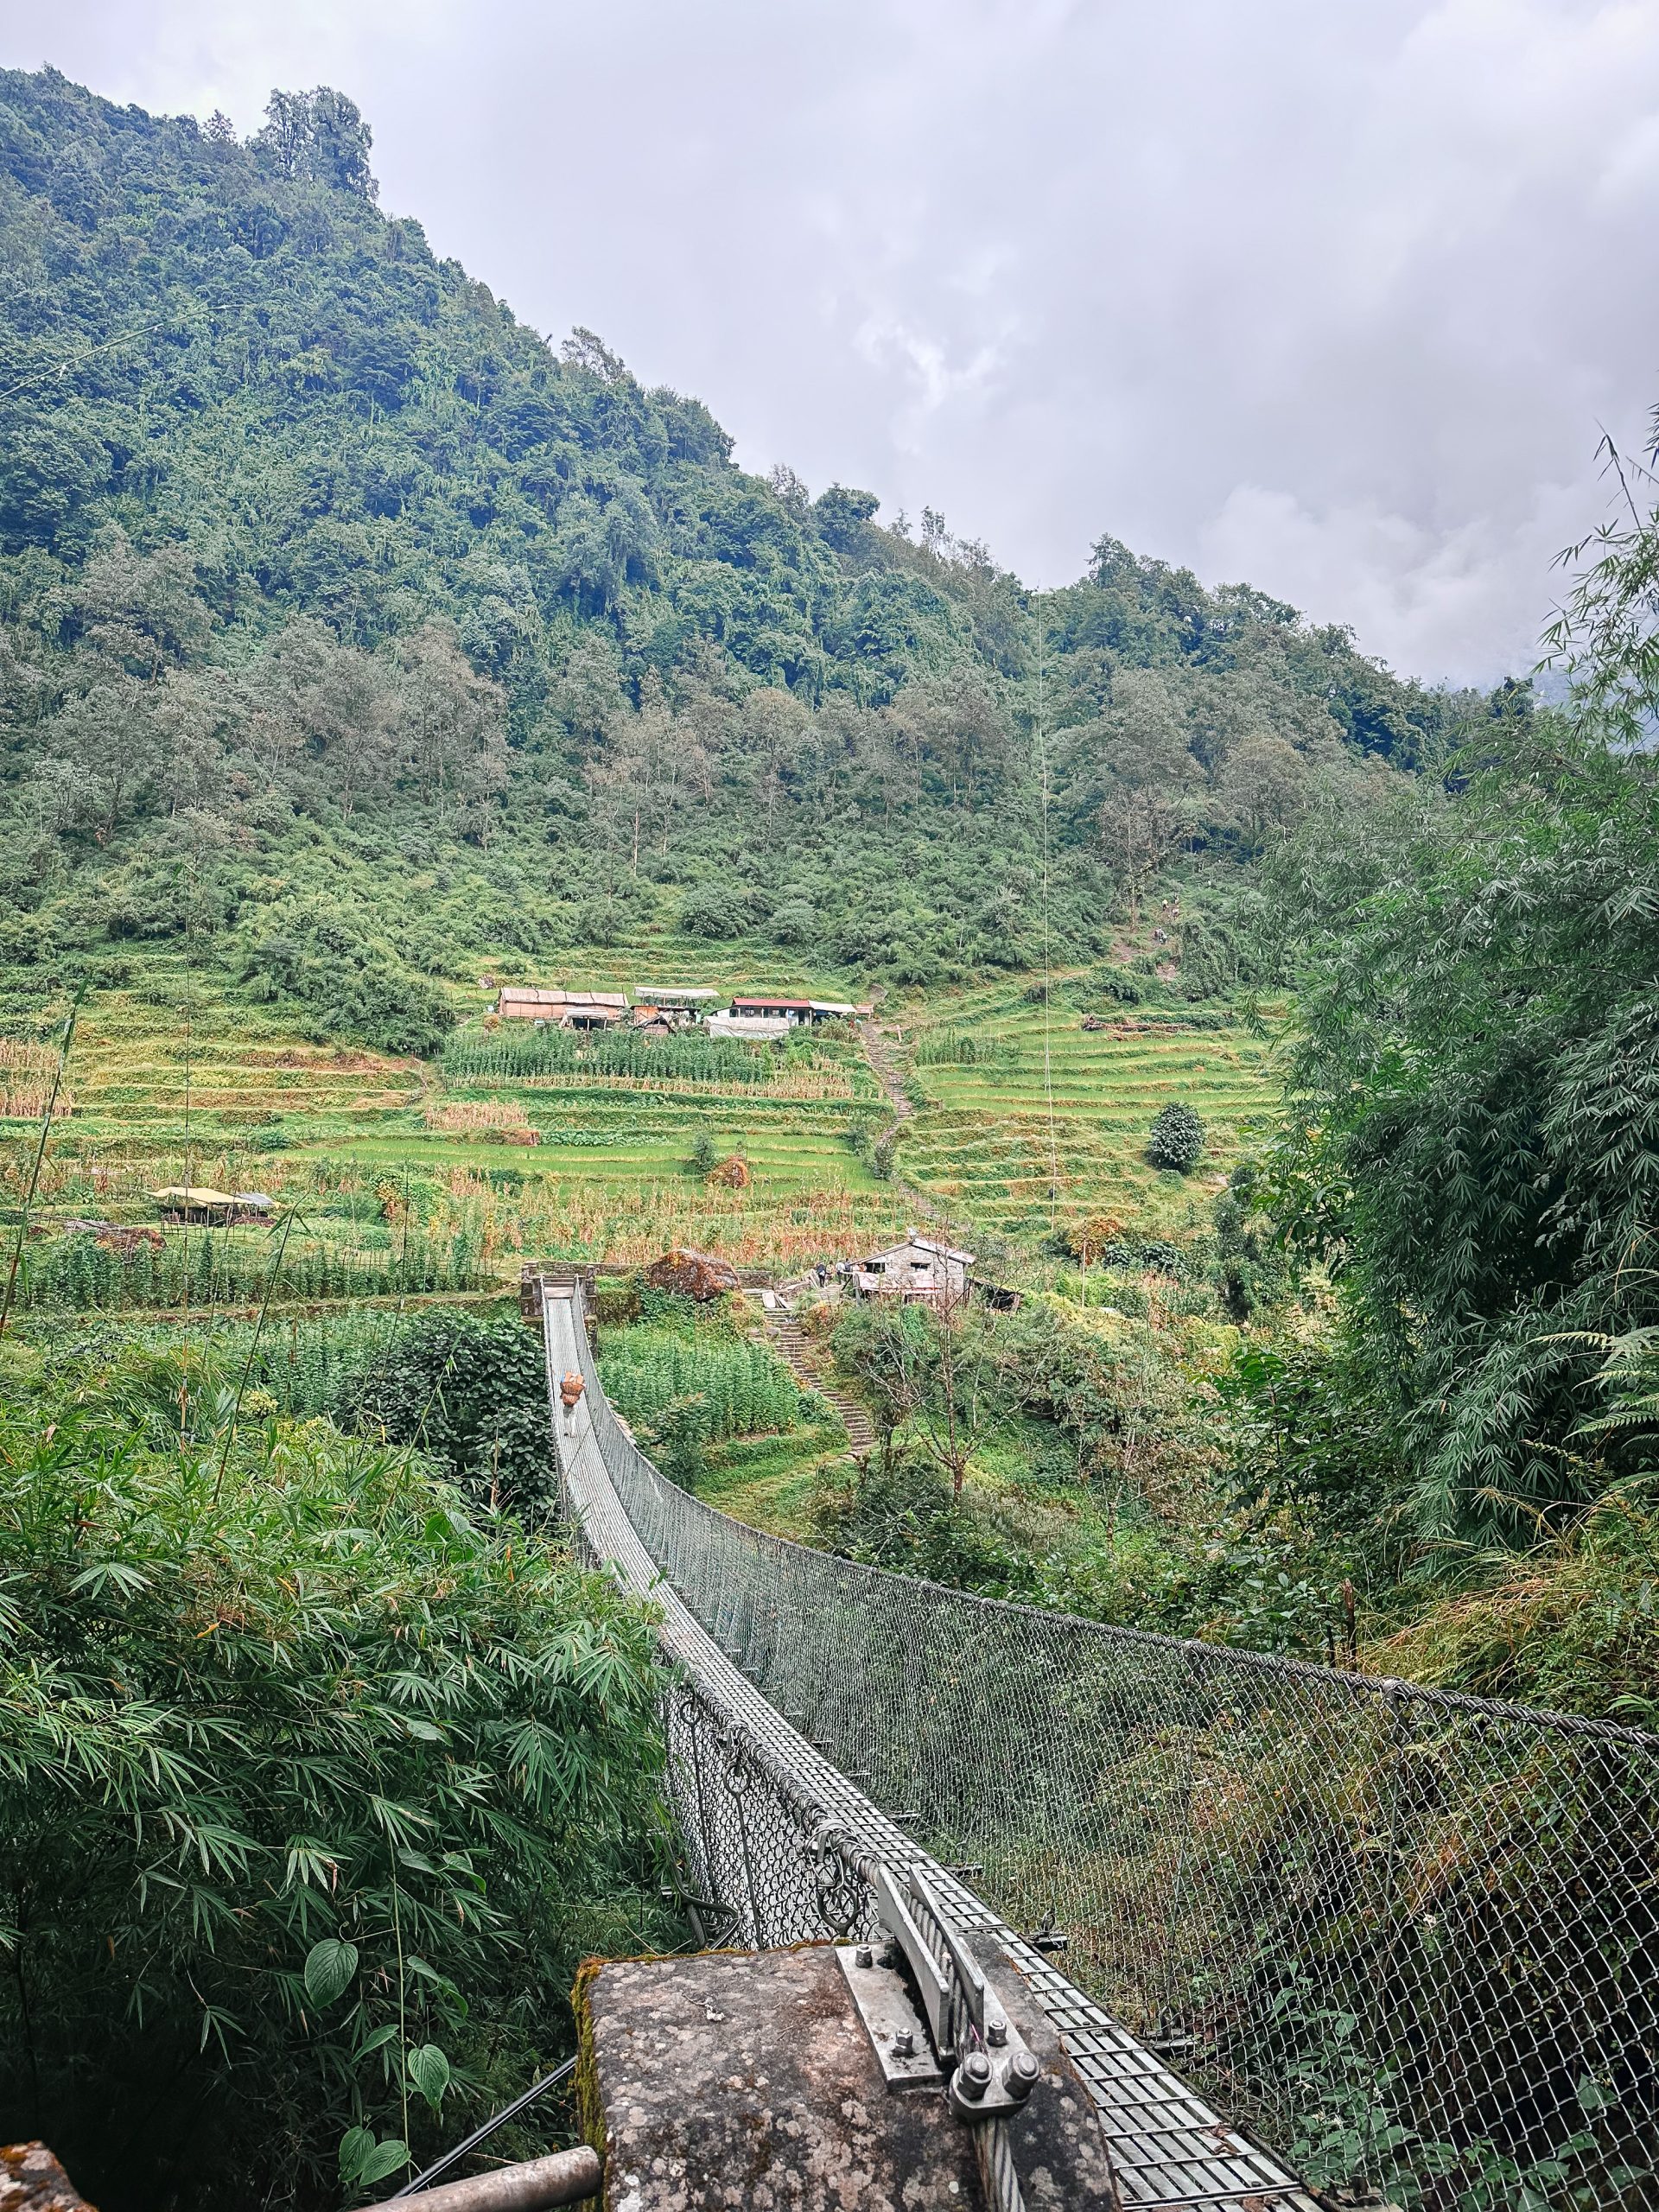
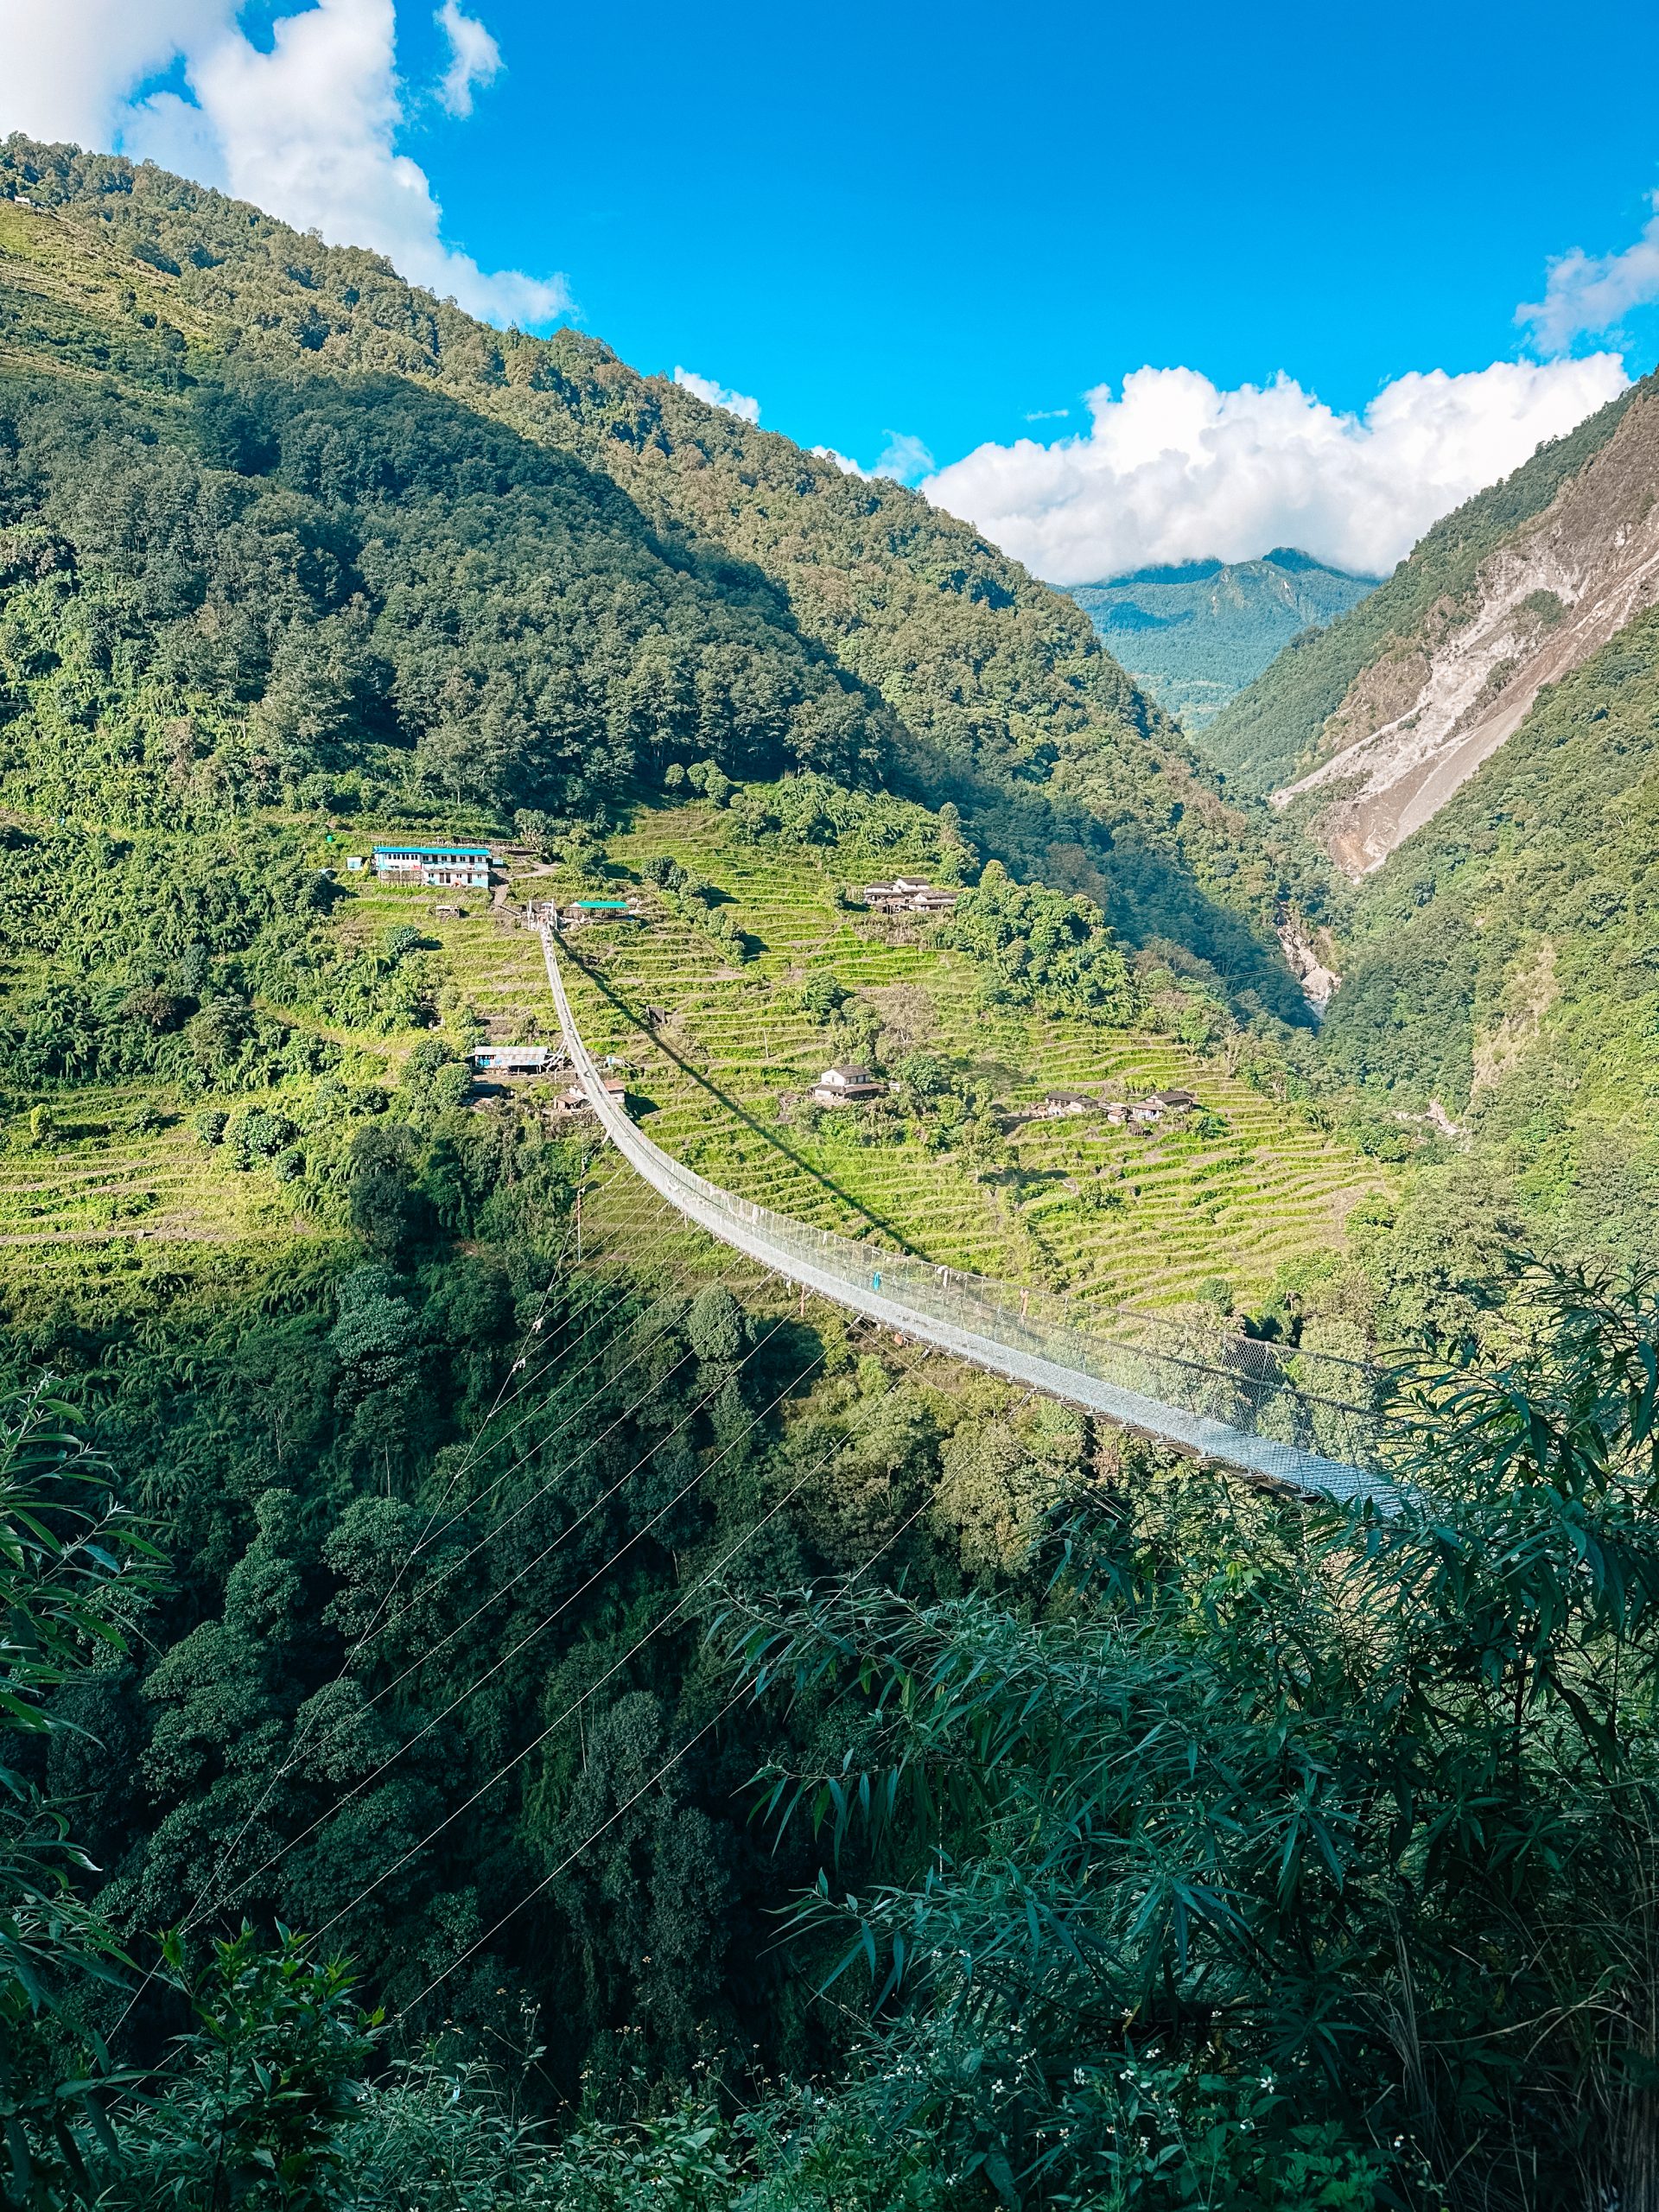
The first section from Hile to Ulleri (1960m) is all ascending steps. You will cross two swing bridges in this section and walk up about 3600 steps, taking roughly 2.5hrs to complete this section depending on your walking speed/breaks.
After Ulleri there are still thousands of steps ascending upwards, with a few flat sections here and there. You will also walk through some beautiful forests at one stage, passing by plenty of waterfalls. We had a lunch break at a spot about 2hrs outside of Ghorepani.
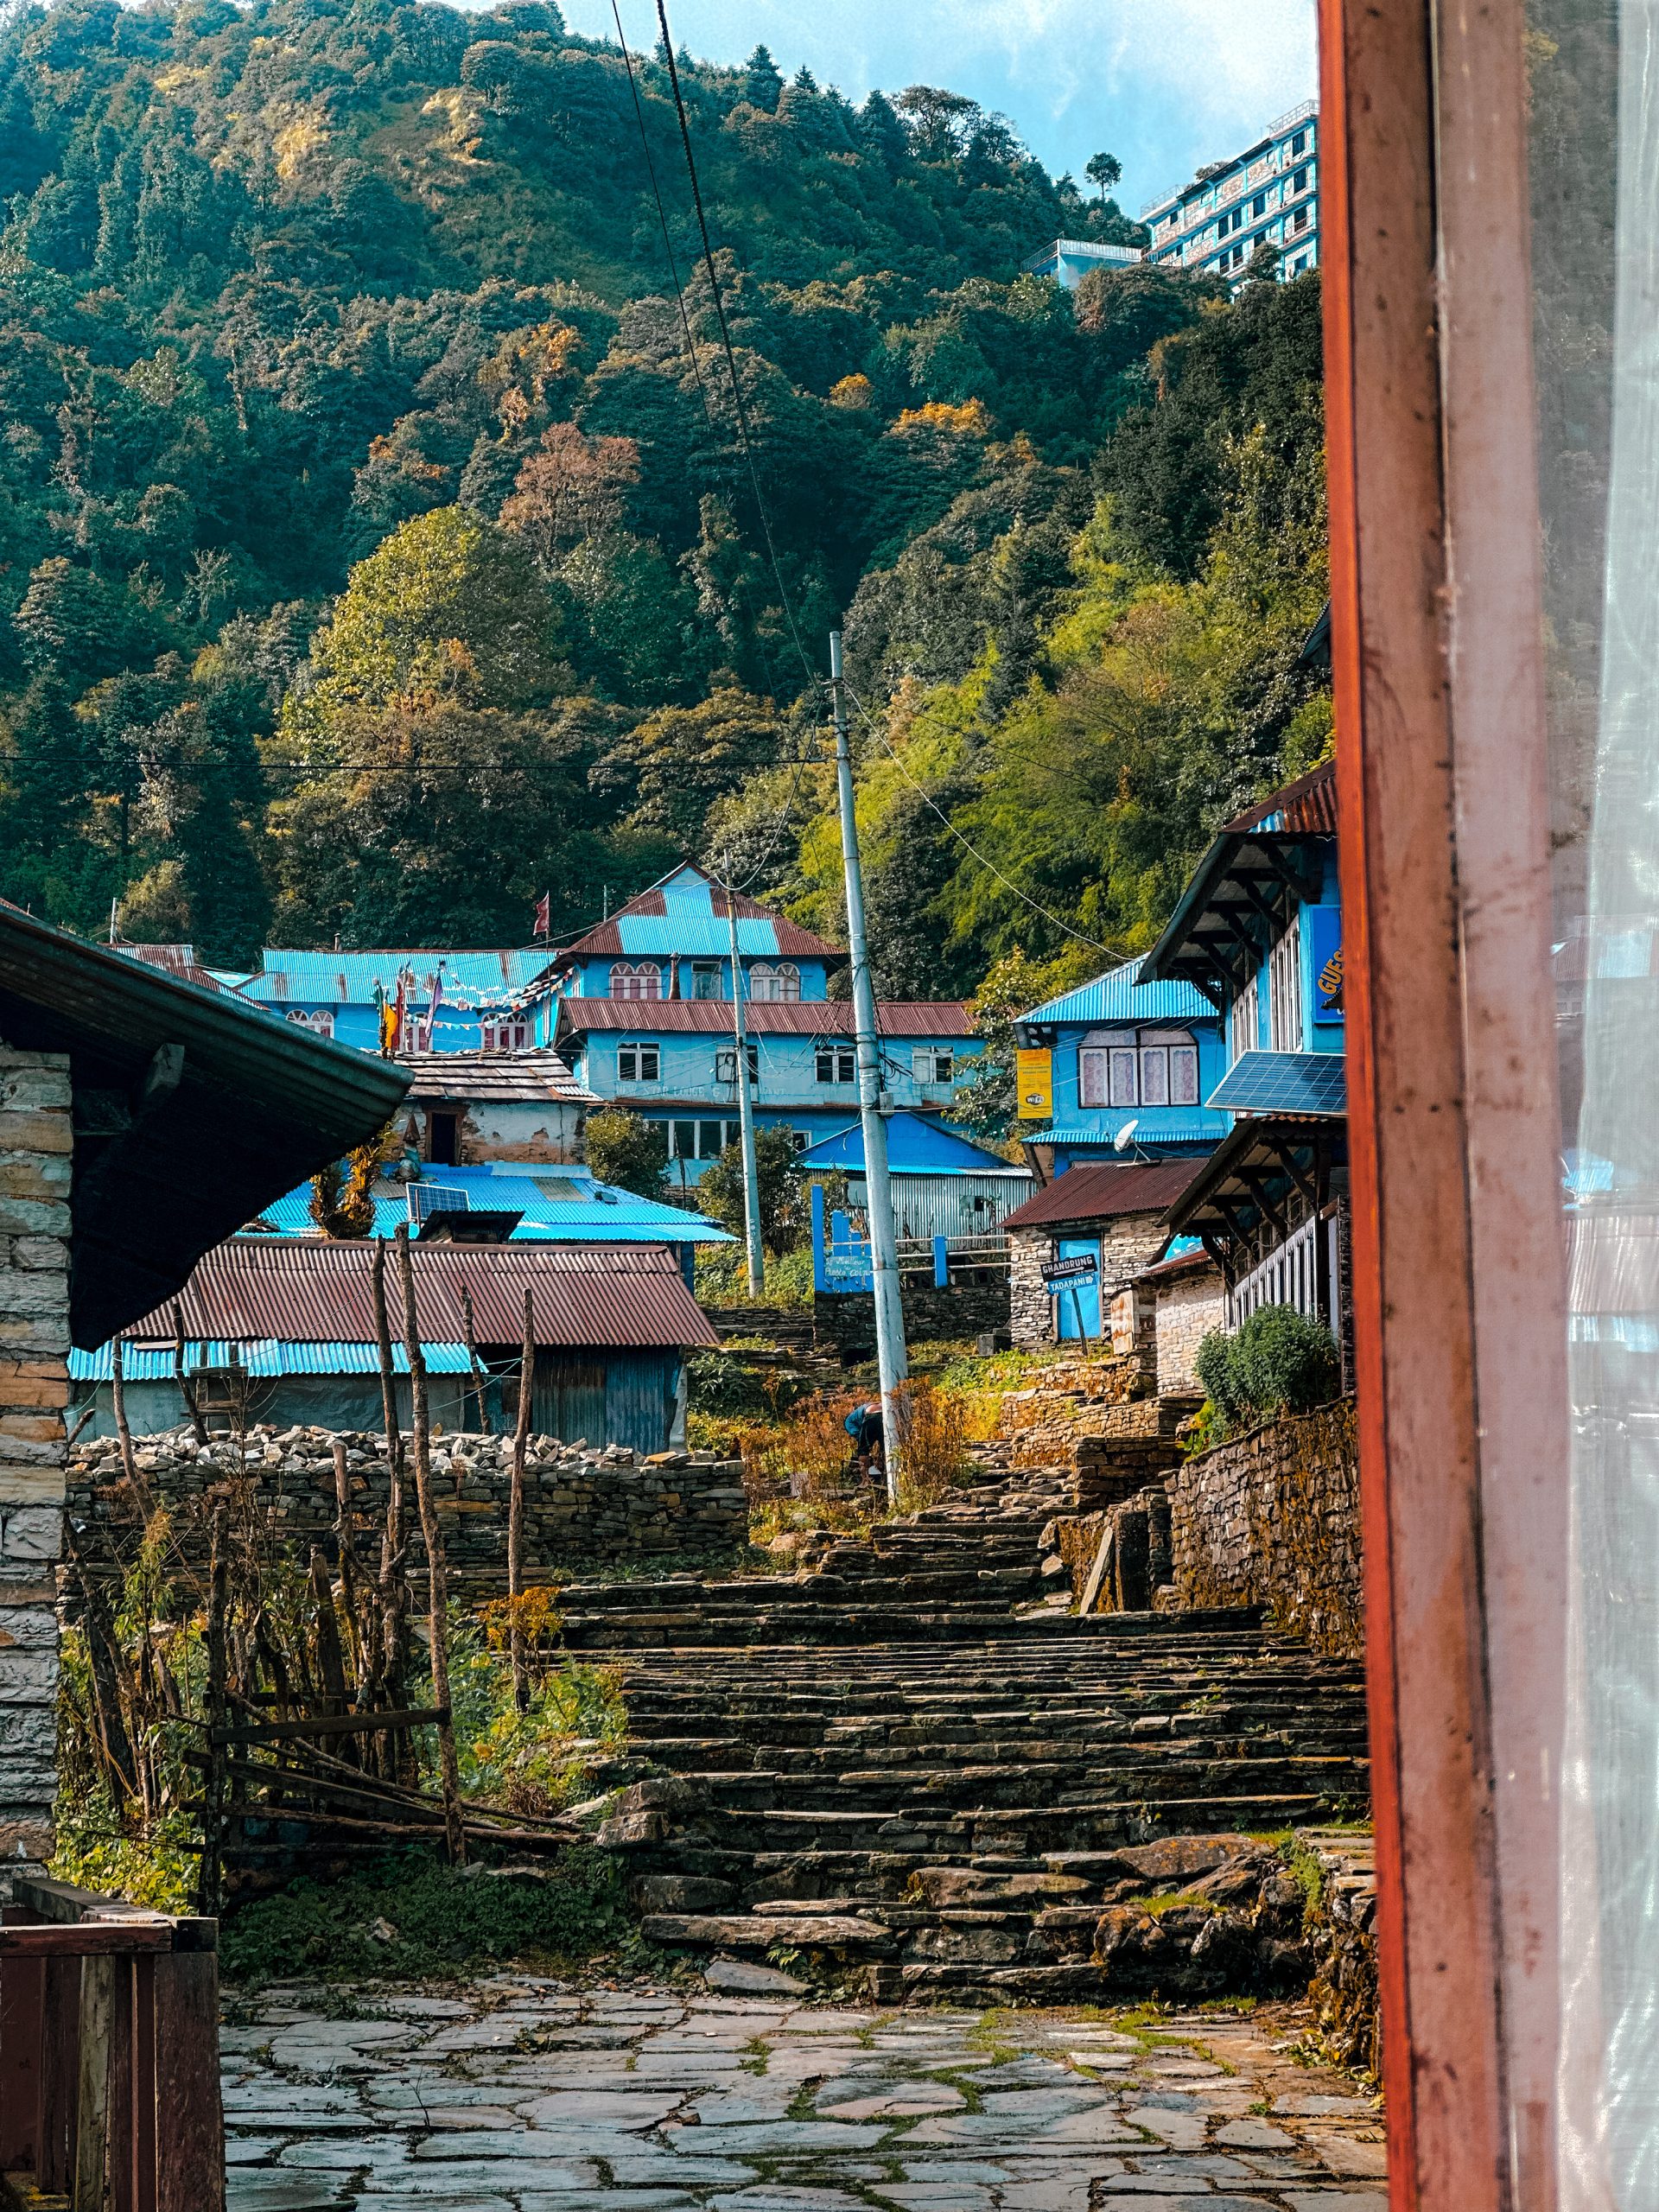
Once you arrive in Ghorepani, hopefully you are rewarded with some of the most spectacular views on the trail. You can see Machapuchare (fishtail), a sacred mountain from most of the accommodation in Ghorepani. This was one of my favourite moments on the Annapurna Base Camp trek, as it was the first time, I saw the mountains I would be walking through!
We were sitting in our accommodation, and there was little to no visibility outside. Within minutes the weather cleared up and we saw these magnificent views from our hotel window – truly spectacular!


DAY 3 – Ghorepani – Poonhill – Tadapani
Distance: 12-14km
Walking Time: 7-9hrs
Difficulty: Moderate
Elevation: 3210m (Poonhilll)
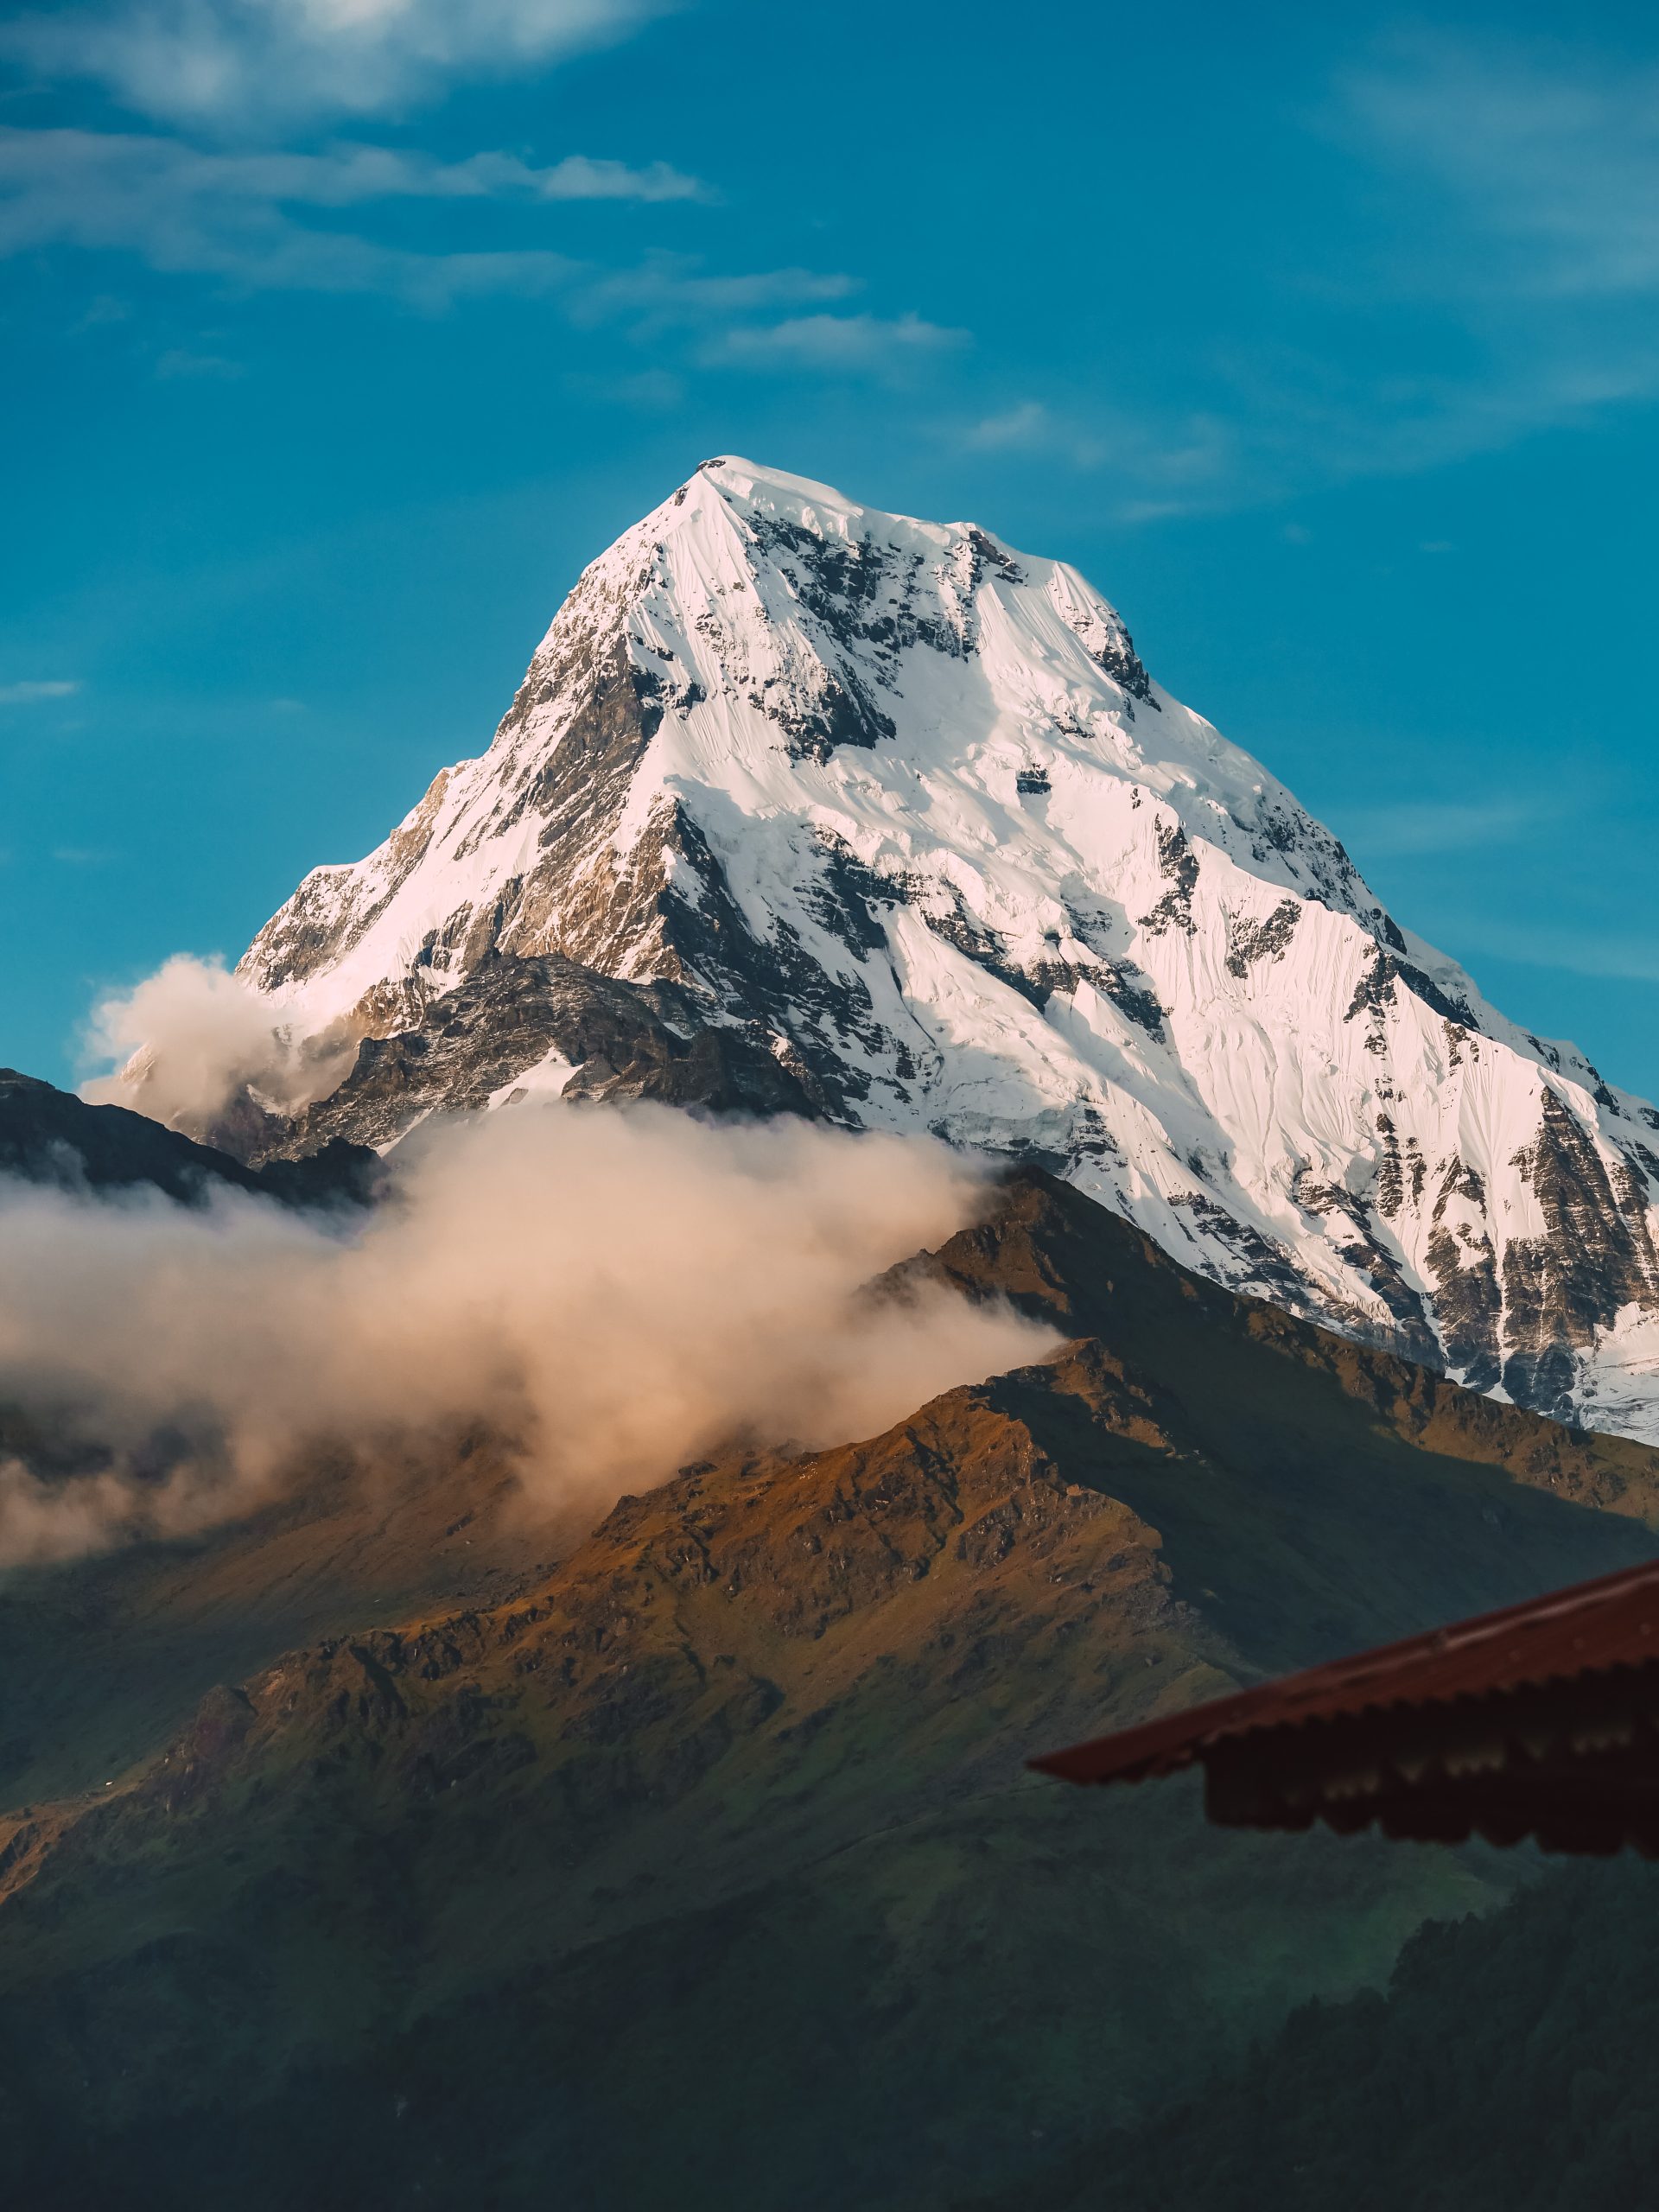
Today we woke up at 4am to start our trek at 4.30am to Poonhill. Poonhill is one of the most popular viewpoints on the Annapurna Circuit and Annapurna Base Camp trek. If you are lucky, you will be rewarded with beautiful 360 views and a sunrise that lights up the mountains. Unfortunately, I didn’t get a completely clear sunrise, but the views were still breathtaking. It takes about 1-2hrs to get to Poonhill from Ghorepani.
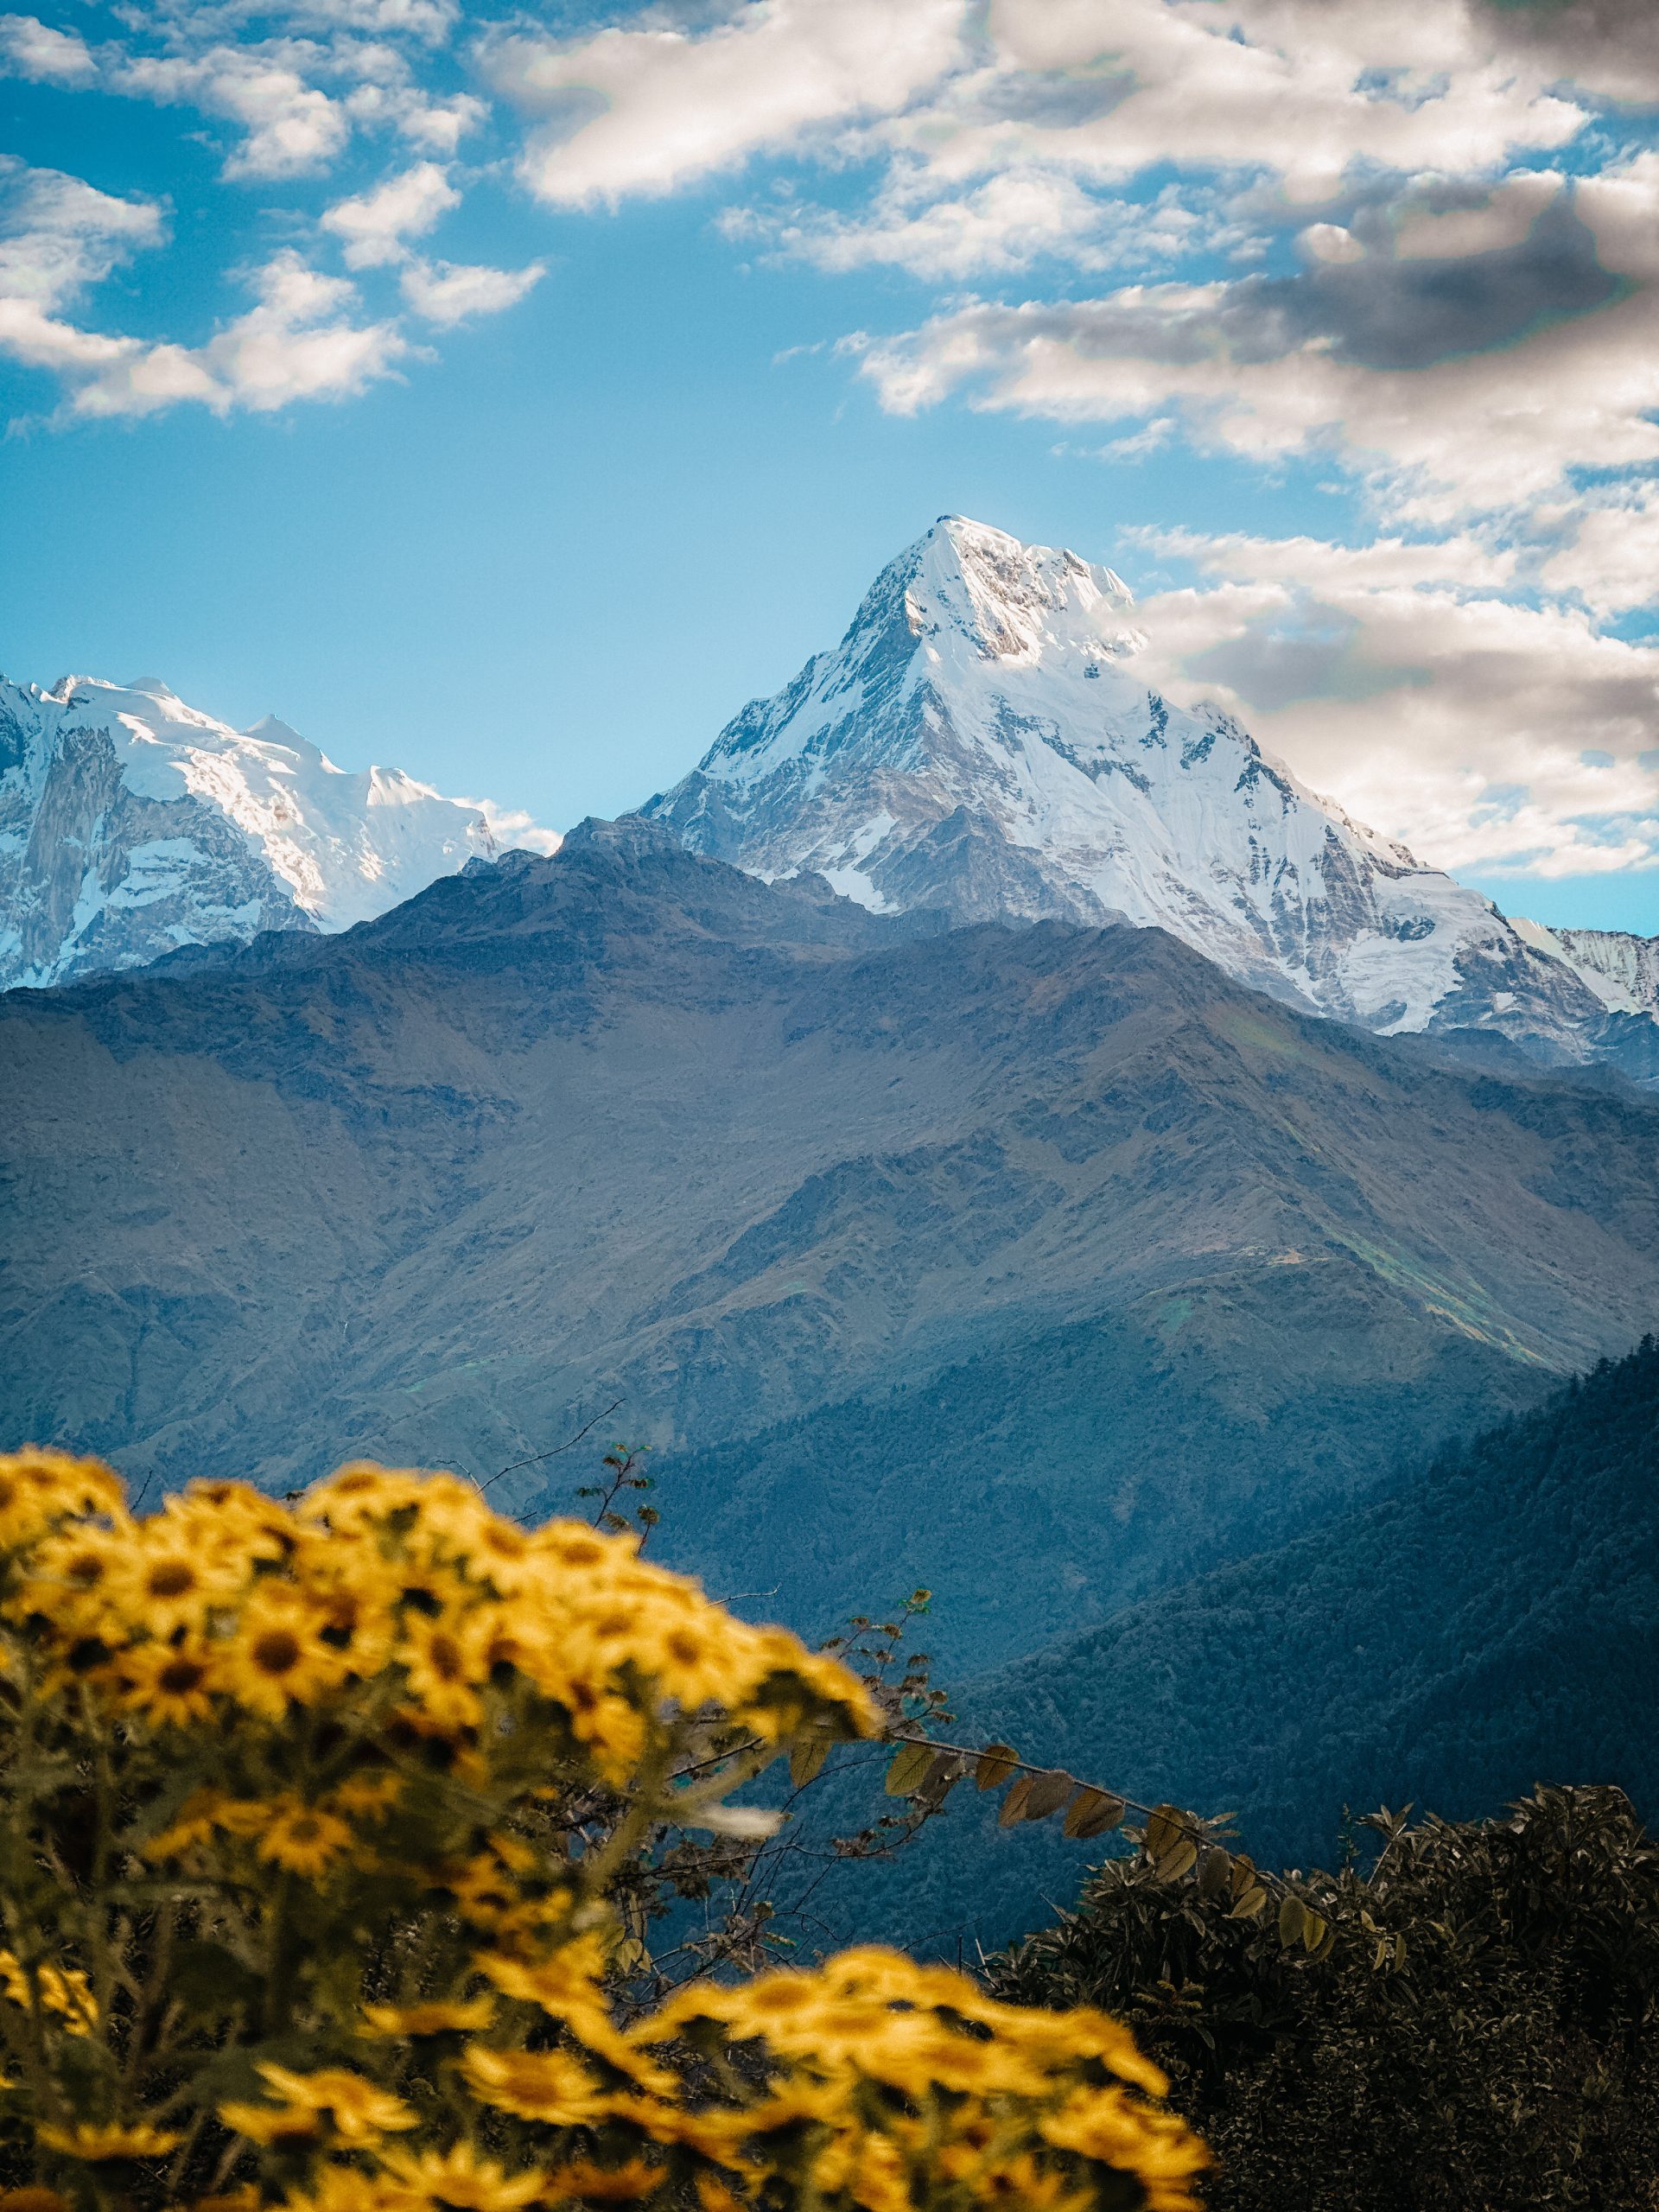
After we spent some time at Poonhill we headed back to Ghorepani for some breakfast, before continuing our trek to Annapurna Base Camp. The first part of today’s walk required a slight incline through some forest, with some flat sections. We had some very clear views today of the surrounding mountain ranges. You will reach a lookout that sits at 3300m, before starting to ascend downhill.
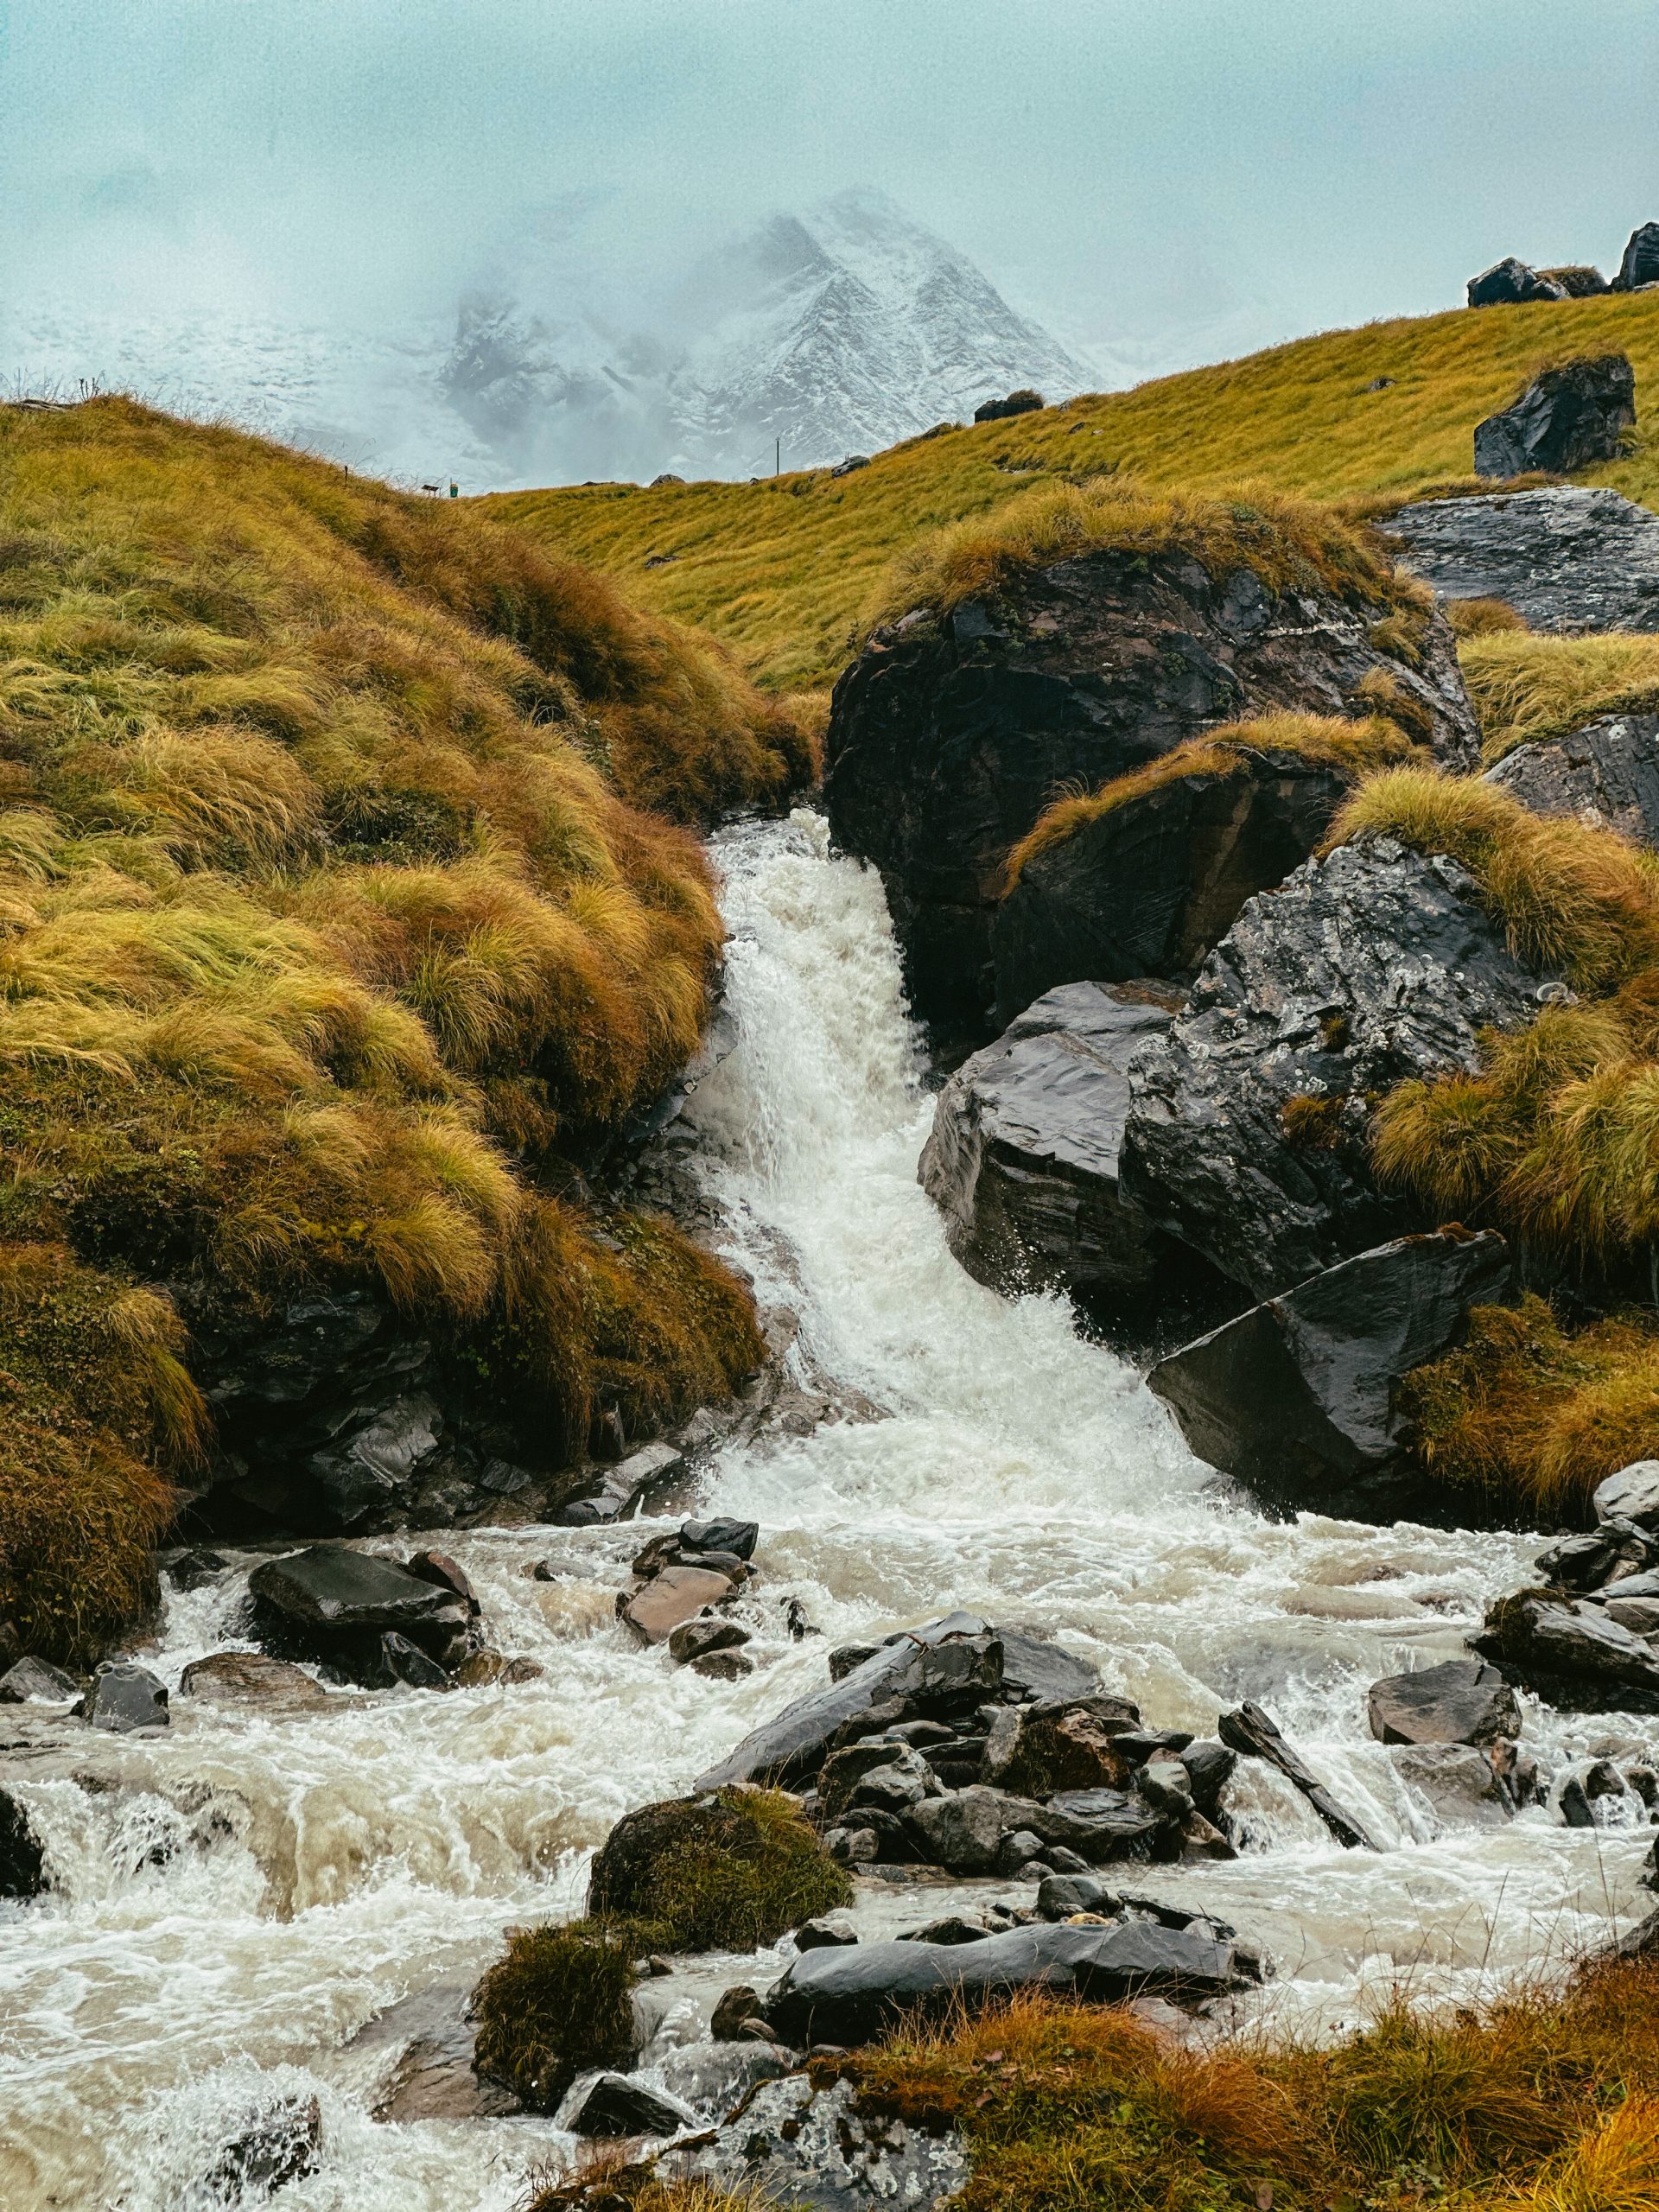
On the downhill section you will pass plenty of waterfalls and streams. There are few steps descending in this section. After about 4hrs walking we reached our lunch spot in Banthanti. The last section to Tadipani is a lot of steps ascending up and down. It almost feels like you are making no progress.
We stayed a little bit further then Tadipani today, which was another 1 hr hike to the teahouse, which was more steps ascending through some forest, then a short ascent down.
Hopefully you are starting to realise this track contains a lot of steps….


DAY 4 – Tadipani to Sinuwa
Distance: 12-14km
Walking time: 7-8hrs
Difficulty: Moderate to Hard (lots of steps)
Elevation: 2340m
Today’s hike contained a lot more steps, and this was the day that felt the longest. You will start off by descending down what felt like 3000 steps to the river, cross two swing bridges, then start ascending up again.
From Tadipani to Chhomrong is a mixture of steps and flat walking along the green rolling hills. We had lunch in Chhomrong which took about 5hrs of walking, this is most likely where you will have lunch on your tour too. After lunch, you guessed it – more steps! From Chhomrong you will descend 2000-3000 steps, to a swing bridge crossing a powerful waterfall. You will then start climbing upwards again.
The climb to Sinuwa is all steps and will take about 1.5hrs to complete. Be careful on these steps, as they can be slippery! I ate shit in front of a lot of people who thought I was going to die. I am like jelly when I fall, so luckily, I came out without a scratch on me!
From Sinuwa the accommodation starts becoming very basic, small rooms with two or three beds. You can have cold showers for free, but will have to pay for hot ones along this stretch.


DAY 5 – Sinuwa to Deurali
Distance: 14km
Walking time: 7-10hrs
Difficulty: Moderate
Elevation: 3200m
We are getting closer to the Annapurna Base Camp! Today, again was a mixture of ascents and descents. This section I didn’t find hard at all, but it did start pouring down with rain 2 hrs into this hike, which meant I was drenched by the time I got to Deurali.
The hike from Sinuwa to Bamboo took about 2 hrs and consisted of mainly steps heading down, passing by a lot of waterfalls. In Bamboo we stopped for some tea and a short break before heading upwards towards Dovan.
It took about 1.5hrs to reach Dovan. There was one small downhill section, but majority was a gradual incline with some step sections. There were a few small water crossings in this section, but I believe that was because it was pouring rain, and these would usually be dried up. Once we reached Dovan we stopped for a quick lunch before continuing.
Dovan to Himalaya took about 1-2hrs, this is the last stop before Deurali. This was a mixture of slight ascents and stair ascents. You will pass by two massive waterfalls on this section, which if it wasn’t raining would have been a beautiful spot to stop and take a few pictures!
From Himalaya to Deurali you will have more gradual inclines and steps. You will need to cross a massive water crossing in this section, this can be scary, especially if you’ve never done this before. I completed this section by myself, as the other member in my group was struggling with the altitude and her fitness. My guide allowed me to continue as I was just getting soaked for no reason.
Even though this section is not classified as high altitude to most climbers – this is where I saw a lot of people struggling with altitude. So if you have no done any high altitude climbing before, I would recommend getting Diamox to be safe.
DAY 6 – Deurali to Annapurna Base Camp (ABC)
Distance: 7-8km
Walking Time: 2.5hrs (My walking speed)
Difficulty: Easy
Elevation: 4130m
This was the easiest day for me. Please note that the above walking time and difficulty rating is based on my experience. I have walked high altitude before, so this was very easy, and the terrain was very easy to navigate. I would say this would be the most difficult day for most people if you have never walked in high altitude.
This section took 2.5hrs as the other girl in my group got altitude sickness and couldn’t continue. This section is mainly a slight gradient all uphill, there are not that many steps on this section – it is mainly a dirt path.
You do have to pass at least 5 water-crossing in this section. Some you will have to get your boots wet, there is little to no choice. As my boots were already wet and it was still pouring down with rain, this wasn’t a problem for me.
It took 1 hr to get to MBC, where I chose not to stop for a break and continue straight onto ABC. The path was extremely muddy and flooded, due to the constant rain. I was unfortunate and didn’t get the spectacular views you are supposed to get along this section. But I still found the views of the greenery and waterfalls beautiful, even though I didn’t get the snow-capped mountains.


DAY 7 – Annapurna Base Camp to Bamboo
Distance: 16-17km
Walking Time: 5-6hrs
Difficulty: Easy
Elevation: 2345m
Today you are meant to wake up for sunrise and see the mountain landscapes light up with the morning sun. When my alarm went off, it was still pouring down with rain, even after having a lot of hope that the sun will shine for even 5 minutes, I wasn’t lucky this hike.
Nevertheless, it was still beautiful scenery from what I saw. As today was still continuously pouring rain with no stop in sight, we decided to head down to Bamboo nice and early. The path to Bamboo is the same path you took heading to Annapurna Base Camp, just descending. This whole section took 5hrs to complete, I did not stop for lunch or tea.


DAY 8 – Bamboo to Jhinu Danda
Distance: 8-9km
Walking time: 5hrs
Difficulty: Easy
Elevation: 1760m
This Is again the same route you took heading to Annapurna Base Camp, until you get to Chhomrong. Remember all those steps you took going down from Chhomrong? Today you climb back up them all! There are about 4000 steps in this section. This took about 4hrs.
We had lunch in Chhomrong, before heading down to Jhinu Danda which took 1 hr. This is all a descent of steps, so today is fairly easy.
DAY 9 – Jhinu Danda to Pokhara
Today we had a change of schedule. We were meant to walk to Pothana (1990), then the following day to Phedi and drive back to Pokhara, making it a 10-day trek. I came down with a chest infection on this day and decided it would be best if I left the trail. Being in high altitude and walking for several hours a day with a chest infection, wasn’t a good idea, especially as I was entering the Everest region in a few days.
I instead caught a Jeep from the jeep station, a 30min walk from my accommodation in Jhinu Danda. This cost 7500 NPR, which was split between myself and the other girl in my group. She had simply had enough and wanted to end the trail. The Jeep took 3 hrs to get back to Pokhara, where we rested for the day.
This is a good option if you want to cut your trip shorter than 10 days, as you can start and finish here. You also cross over a massive swing bridge in this section!
Conclusion and Tips
It is beautiful hike; despite the fact I didn’t get the views at the end. I would complete this hike again, as I didn’t find it difficult with my level of fitness and experience.
- This is classified high altitude, and some may struggle with the altitude if you’ve never climbed that high before.
- It is strenuous in some areas; you will need to be physically fit.
- Bring good footwear, poles, and waterproof gear. Highly recommend buying a poncho or umbrella.
- Watch out for leaches when it rains.
- Bring plenty of snacks, if you are like me, you will get very hungry with all the walking.
- Bring toilet paper – you can buy it on the trail but its expensive.
- Bring warm clothes, it was 1 degree at Base Camp.
Like this post? Pin it and share it with others!


Comments (1)
Everest Circuit – Full Guide – TREKwithBECK
20th November 2023 at 12:04 pm
[…] have now completed hikes in both the Everest and Annapurna region of Nepal – if you have to choose one area, I’d recommend the Everest Region and […]